Github 에서 해당 내용에 대해서 확인할 수 있습니다.
Overview
목표
- 로컬에서 MLFLow Server를 띄어봅시다.
요구사항
- 로컬에 mlflow server를 띄웁니다.
mlflow server 를 사용해 서버를 띄웁니다.- mlflow server는 “3.모델 학습 및 저장” 와 작성할 스크립트와 같은 디렉토리에서 실행되어야 합니다.
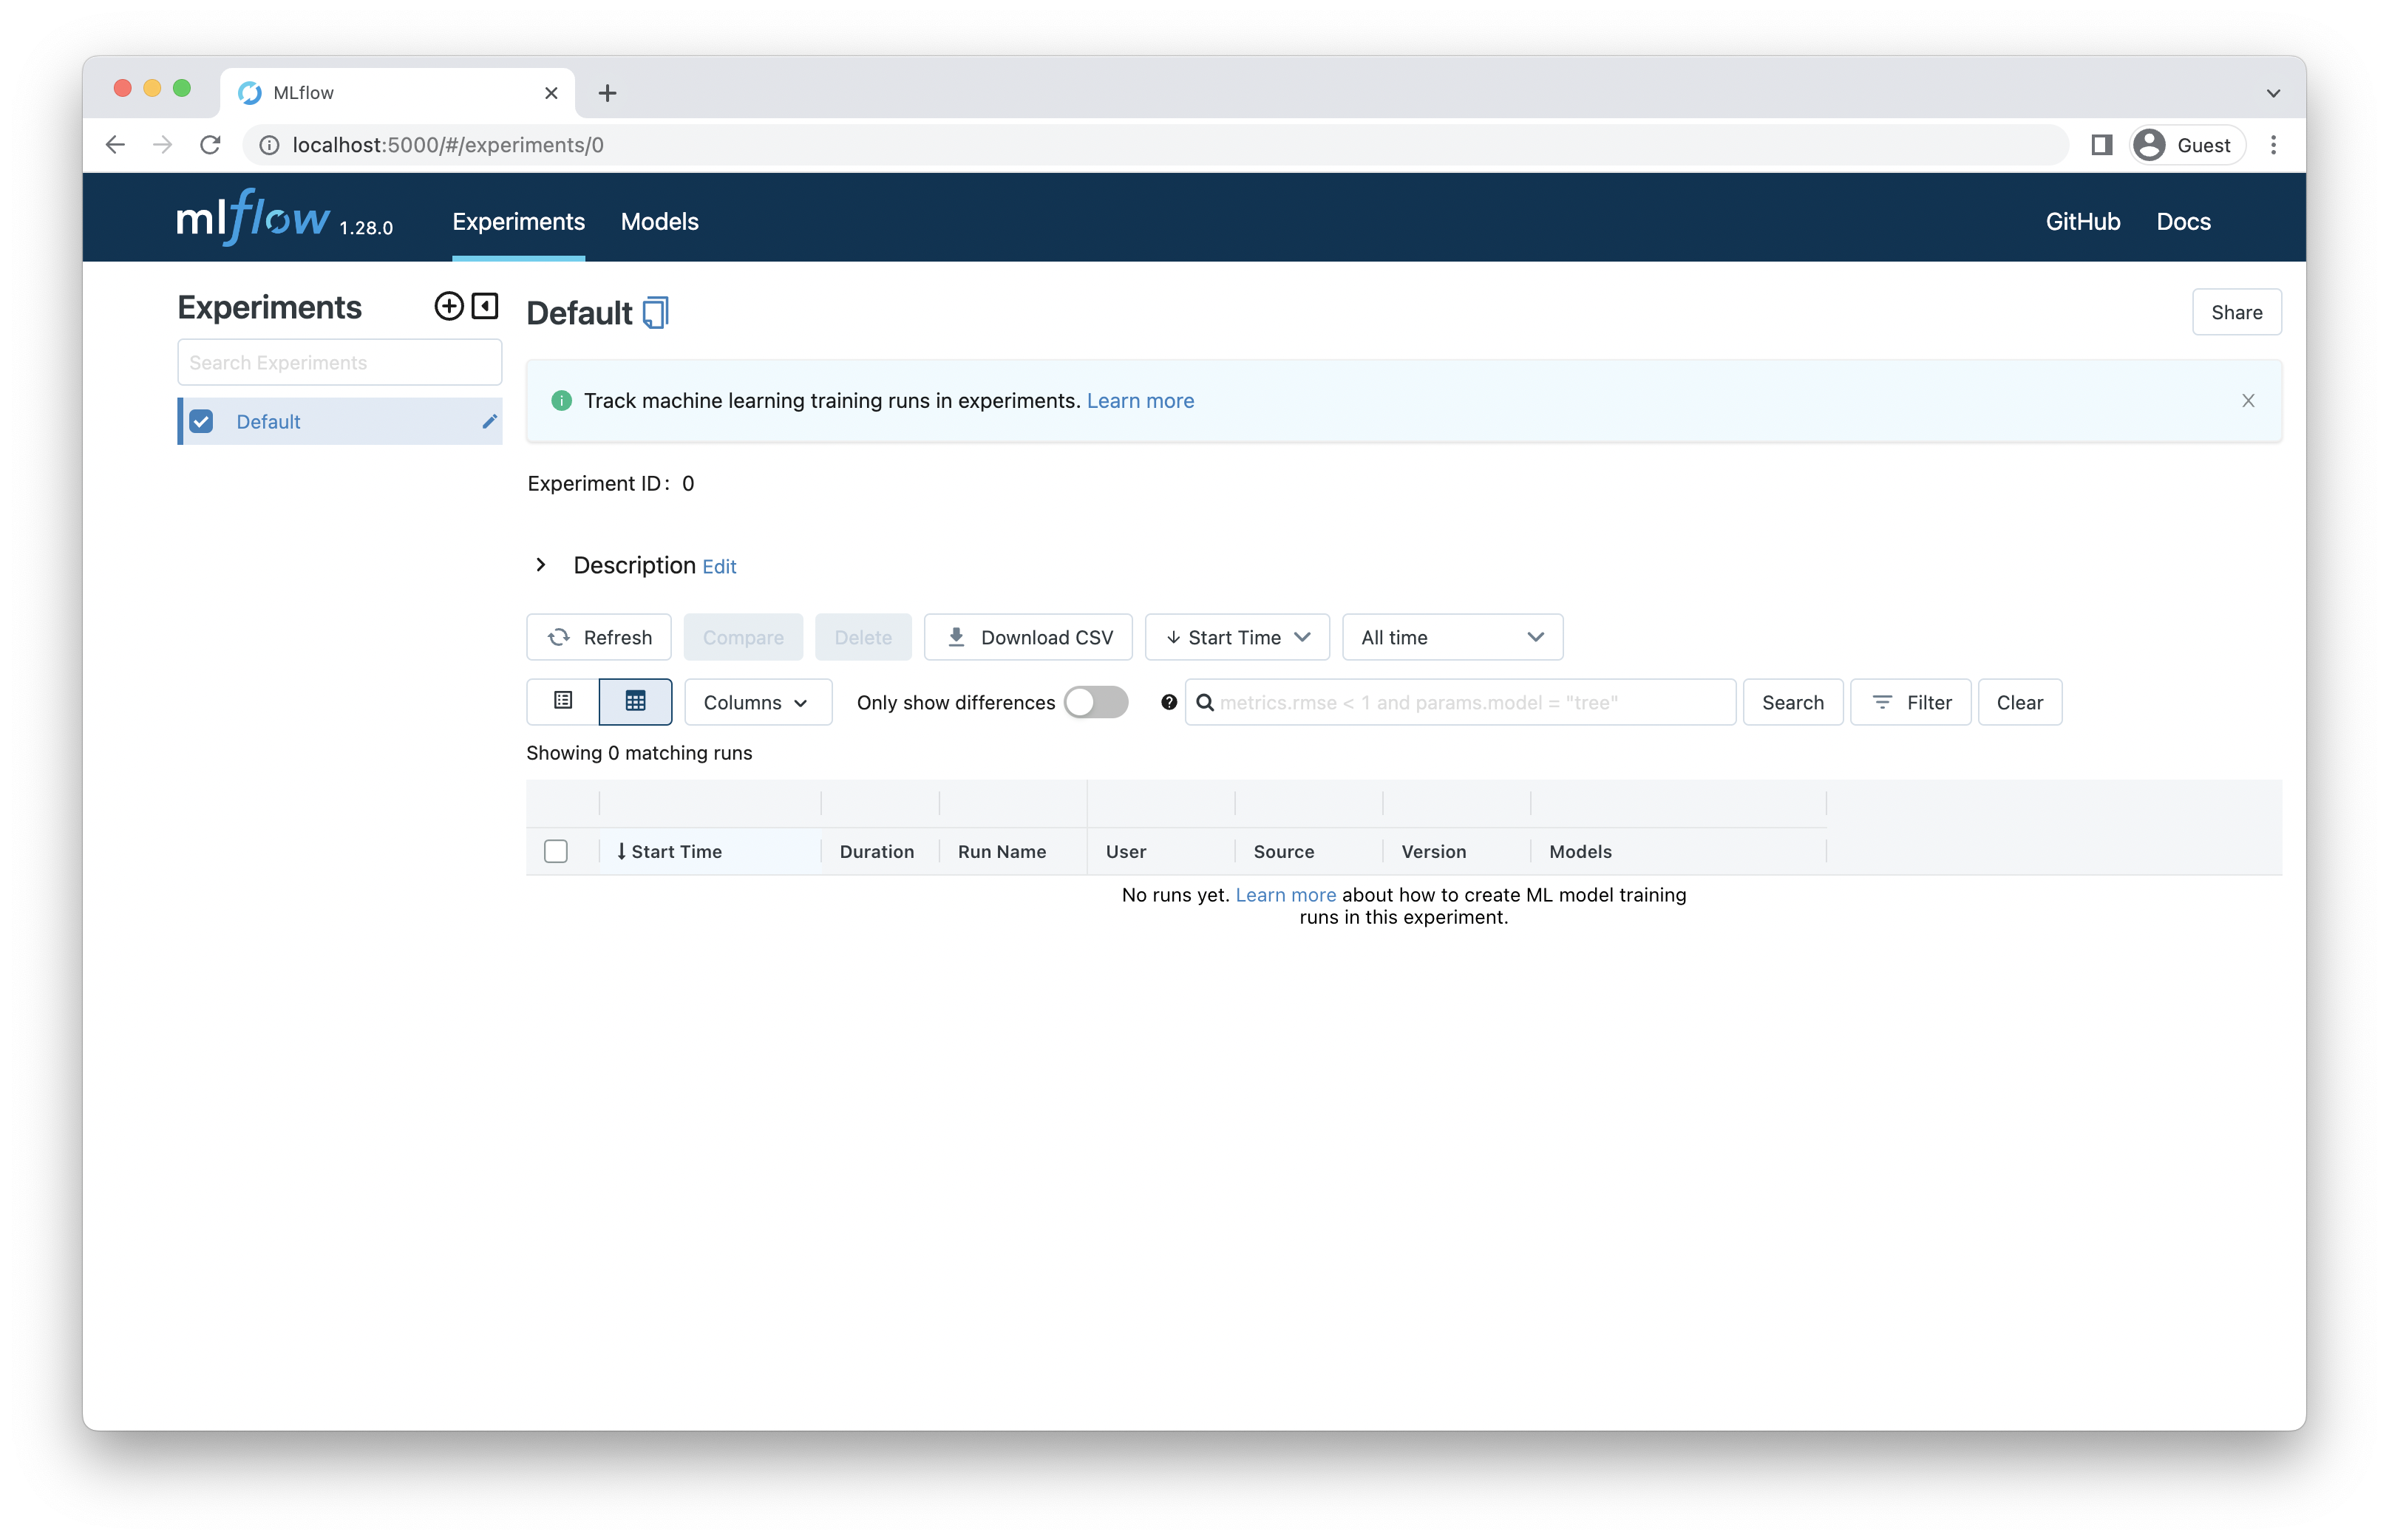
- mlflow ui website를 확인합니다.
Script
Install
mlflow 를 설치합니다.
Run
다음 명령어로 mlflow를 실행합니다.
실행되면 다음과 같이 출력됩니다.
1
2
3
4
5
6
7
8
| > mlflow server
[2022-09-20 11:55:20 +0900] [23908] [INFO] Starting gunicorn 20.1.0
[2022-09-20 11:55:20 +0900] [23908] [INFO] Listening at: http://127.0.0.1:5000 (23908)
[2022-09-20 11:55:20 +0900] [23908] [INFO] Using worker: sync
[2022-09-20 11:55:20 +0900] [23909] [INFO] Booting worker with pid: 23909
[2022-09-20 11:55:21 +0900] [23910] [INFO] Booting worker with pid: 23910
[2022-09-20 11:55:21 +0900] [23911] [INFO] Booting worker with pid: 23911
[2022-09-20 11:55:21 +0900] [23912] [INFO] Booting worker with pid: 23912
|
실행된 후에는 디렉토리에 mlruns 폴더가 생성됩니다.
1
2
3
4
| .
└── mlruns
└── 0
└── meta.yaml
|
Web
http://localhost:5000 에 접속합니다.


![Featured image of post [ Chapter 2. Model Registry ] 1) Run Mlflow Server](/post/mle-mlops/model_registry/mlflow_server/mlflow-ui_hu7ca4cf7dba06f48bee7948ffcf40229f_1742216_800x0_resize_box_3.png)