Kubeflow 설치 시리즈
이번 포스트에서는 서버에 k3s를 설치하는 과정에 대해서 설명합니다.
필요한 준비 과정을 확인 후 진행해 주세요.
k3s Installation
- k3s 설치
k3s는 gpu를 사용하기 위해서 도커를 백엔드로 사용하겠습니다.
docker 백엔드는--docker를 추가하면 됩니다.1curl -sfL https://get.k3s.io | sh -s - server --disable traefik --disable servicelb --disable local-storage --docker - k3s config 확인
k3s를 설치후 k3s config를 확인합니다
1cat /etc/rancher/k3s/k3s.yaml - k3s config를 kubeconfig로 복사
1
2
3
mkdir .kube sudo cp /etc/rancher/k3s/k3s.yaml .kube/config sudo chown mrx:mrx .kube/config - local로 kube config 옮기기
local에서~/.kube/config로 설정합니다.
multi-context인 경우 multi-context에 맞게 설정합니다.
multi-context는kubectl ctx를 통해 쉽게 변경할 수 있습니다. - local에서 서버 확인하기
1kubectl get nodes
Kubernetes Setup
k3s를 설치 후에는 서버로 사용할 수 있도록 써드파티들을 설치해주어야 합니다.
위의 k3s installation 과정이 끝났다면 로컬에서 서버를 kubectl 을 통해 관리할 수 있습니다.
아래 과정은 모두 local에서 이루어집니다. (kubectl의 context를 잘 확인 후 진행하시기 바랍니다.)
1. Nvidia Device Plugin
| |
2. Ingress
| |
3. Longhorn
Longhorn은 k3s에서 StorageClass를 생성을 해줍니다.
On Local
- 설치
1
2
3
helm repo add longhorn https://charts.longhorn.io helm repo update helm install longhorn longhorn/longhorn --namespace longhorn-system --set csi.kubeletRootDir=/var/lib/kubelet --create-namespace - VPN IP 설정하기
1sudo sh -c "echo '<VPN_IP> longhorn.k3s.cluster.local' >> /etc/hosts" - auth & ingress 생성
| |
On Server
로컬에서 확인할 수 있는 reverse-proxy를 설정해주는 작업입니다. 이 작업은 서버에서 이루어집니다.
- reverse-proxy 폴더 생성
1
2
mkdir reverse-proxy cd reverse-proxy - reverse-proxy 폴더 아래 다음 파일들 생성 합니다.
생성할 파일은 총 3개 입니다.Dockerfile1 2 3FROM nginx COPY ./longhorn.conf /etc/nginx/conf.d/longhorn.conf COPY ./kubeflow.conf /etc/nginx/conf.d/kubeflow.conflonghorn.conf1 2 3 4 5 6 7 8 9 10 11 12 13 14 15 16server { listen 80; server_name longhorn.k3s.cluster.local; location / { proxy_redirect off; proxy_pass_header Server; proxy_set_header Host $http_host; proxy_set_header X-Real-IP $remote_addr; proxy_set_header X-Forwarded-For $proxy_add_x_forwarded_for; proxy_set_header X-Forwarded-Proto $scheme; proxy_set_header X-NginX-Proxy true; proxy_set_header X-Scheme $scheme; proxy_pass http://localhost:32080; } }kubeflow.conf1 2 3 4 5 6 7 8 9 10 11 12 13 14 15 16 17 18 19server { listen 80; server_name kubeflow.k3s.cluster.local; location / { proxy_redirect off; proxy_pass_header Server; proxy_set_header Host $http_host; proxy_set_header X-Real-IP $remote_addr; proxy_set_header X-Forwarded-For $proxy_add_x_forwarded_for; proxy_set_header X-Forwarded-Proto $scheme; proxy_set_header X-NginX-Proxy true; proxy_set_header X-Scheme $scheme; proxy_pass http://localhost:32455; proxy_http_version 1.1; proxy_set_header Upgrade $http_upgrade; proxy_set_header Connection "upgrade"; add_header X-Frame-Options SAMEORIGIN; } }
- reverse proxy docker를 빌드합니다.
1docker build -t reverse-proxy . - 빌드한 docker image를 실행합니다.
1docker run -d --net host reverse-proxy
On local
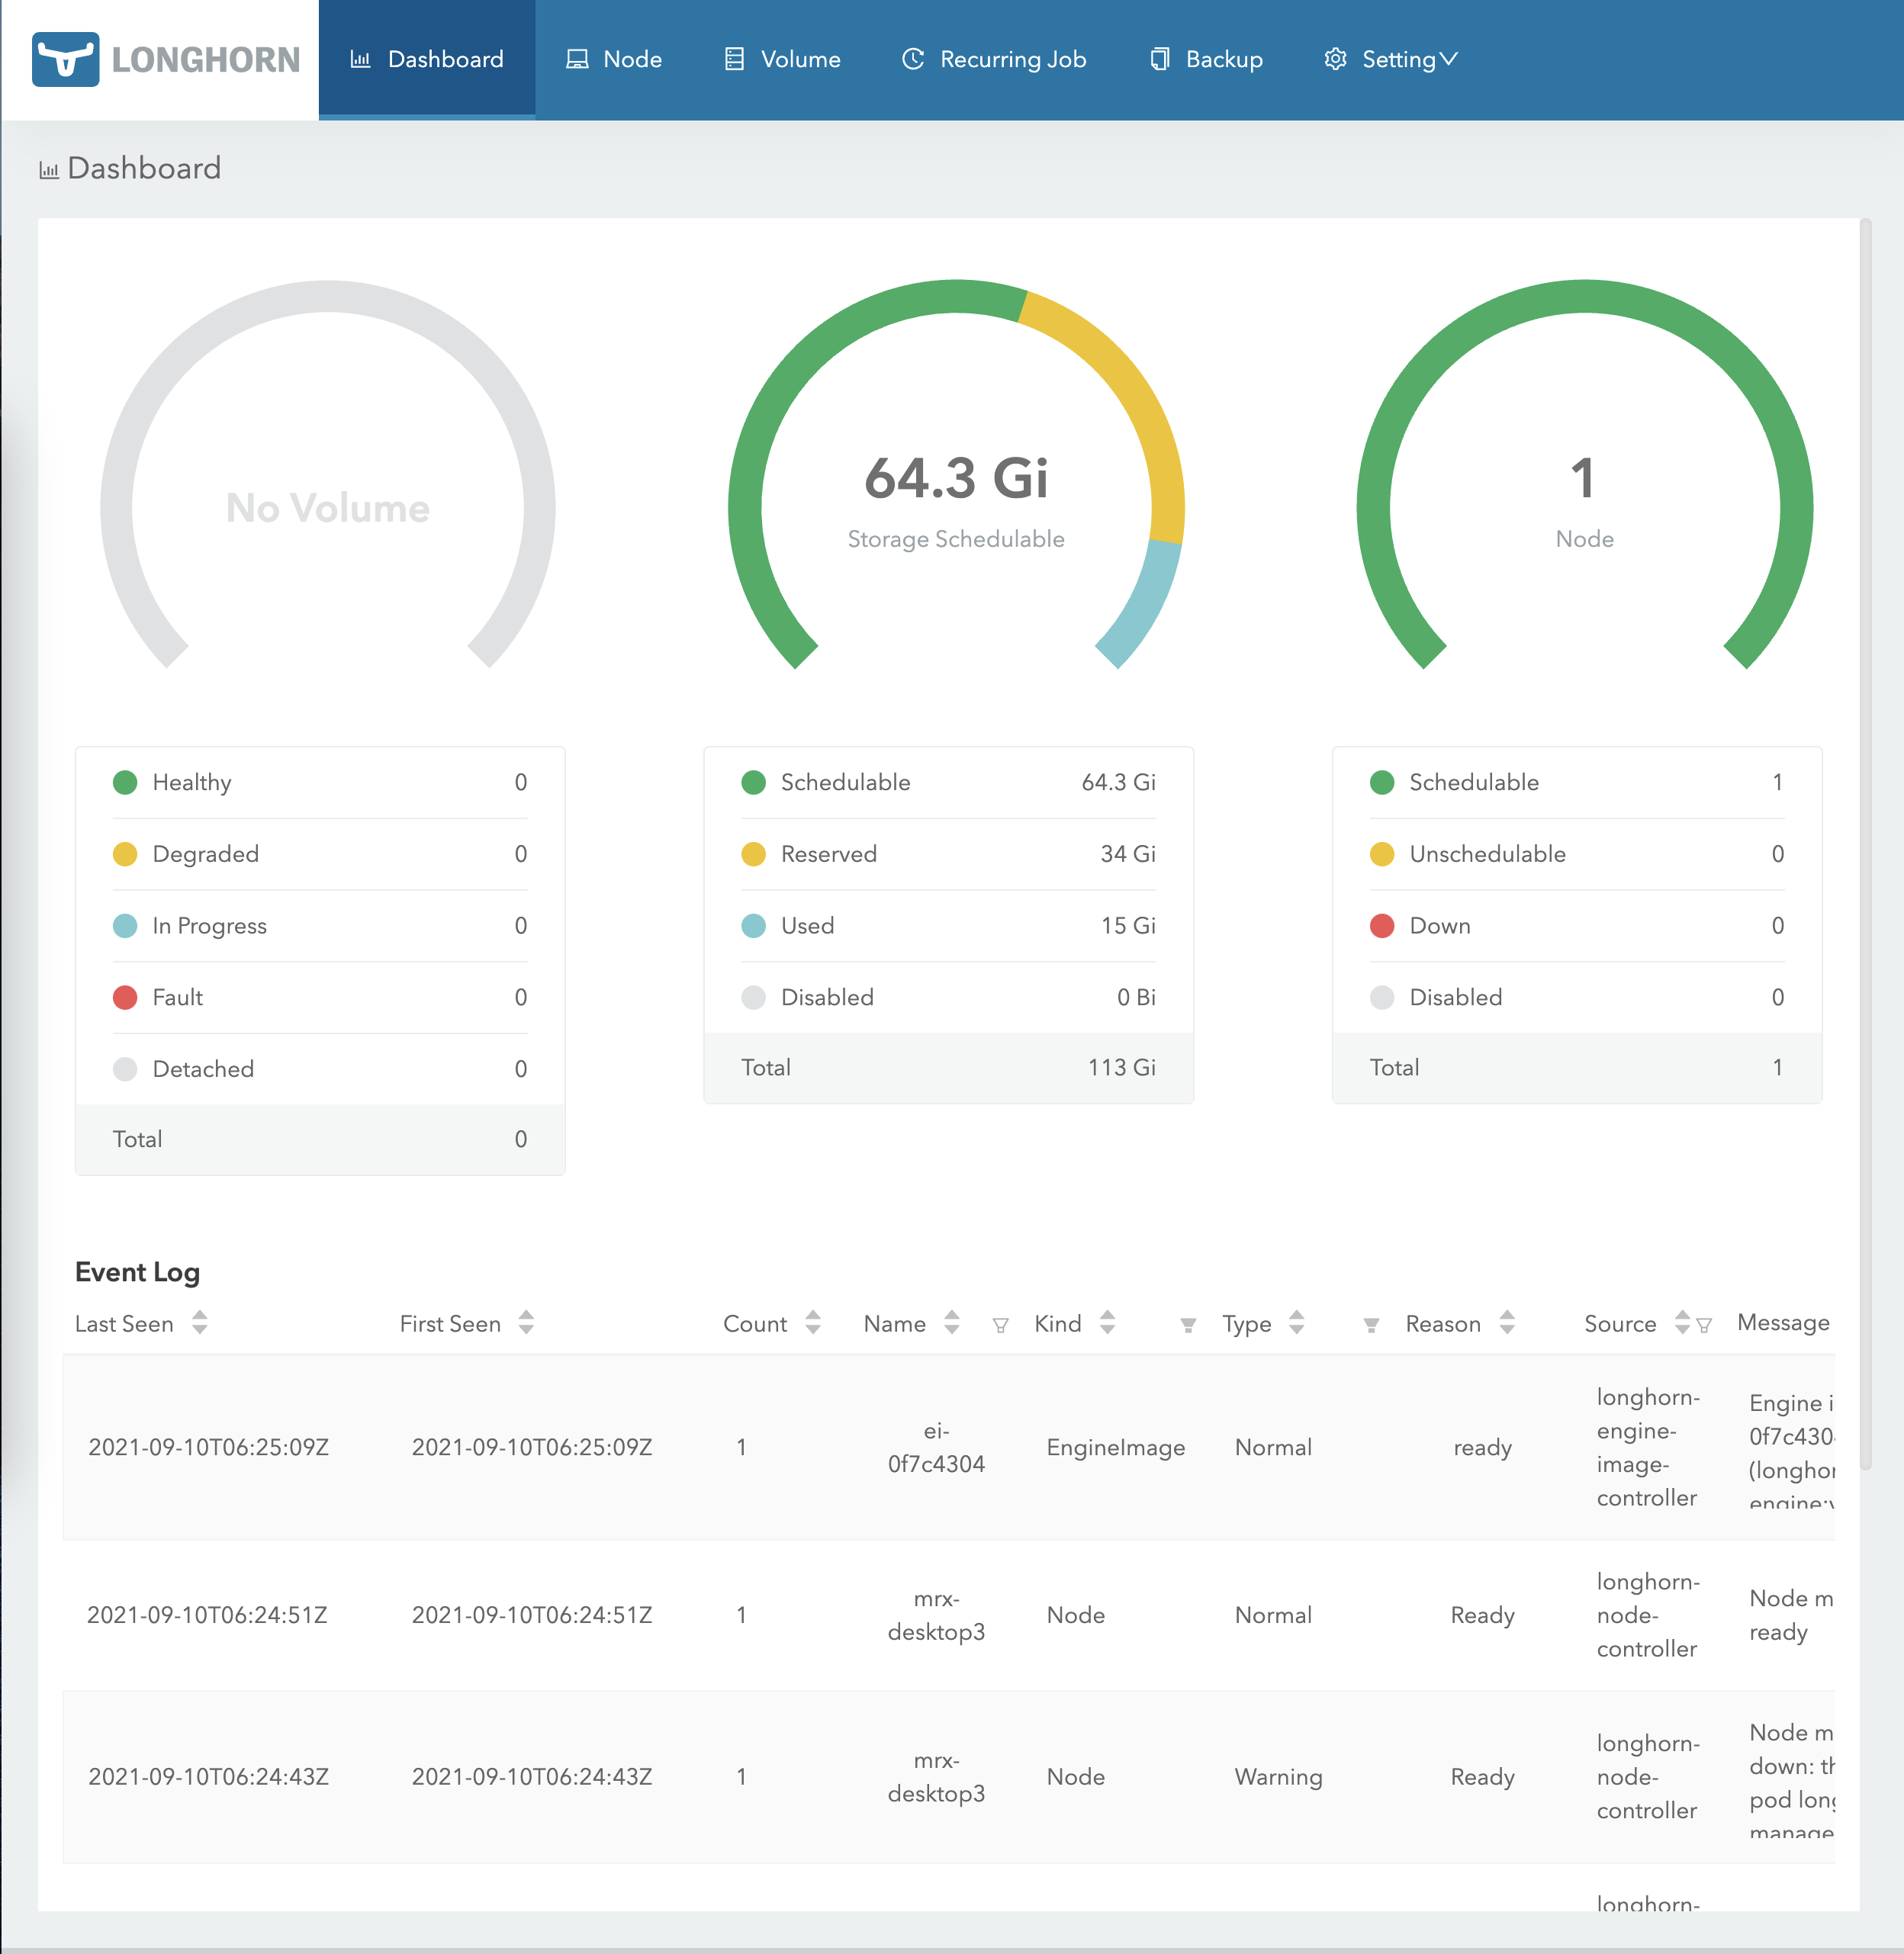
다음 주소로 접속이 되는지 확인합니다.
http://longhorn.k3s.cluster.local/
이 때 기본 ID/PWD는 다음과 같습니다.
- id: admin
- pw: adminadmin
로그인이 되면 다음과 같은 화면이 나옵니다.