Kubeflow 설치 시리즈
이번 포스트에서는 서버에 kubeflow를 설치하는 과정에 대해서 설명합니다.
필요한 준비 과정을 확인 후 진행해 주세요.
이번 포스트에서 사용하는 kubeflow의 버전은 1.3.0 입니다.
버전이 바뀔 경우 해당 설치 과정과 달라질 수 있습니다.
자세한 내용은 링크를 확인해 주세요.
Kustomize
Kubeflow를 설치하기 위해서는 kustmoize와 kubeflow manifest가 필요합니다.
Clone kubeflow/manifest
Clone 받는 위치는 편한 곳에 하면 됩니다.1git clone https://github.com/kubeflow/manifestskustomize 다운로드
kubelfow manifest를 지원하는 kustomize를 다운 받습니다. 포스트를 작성하는 기준으로는 3.2.0을 지원합니다.kustomize (version 3.2.0)
⚠️ Kubeflow 1.3.0 is not compatible with the latest versions of of kustomize 4.x. This is due to changes in the order resources are sorted and printed. Please see kubernetes-sigs/kustomize#3794 and kubeflow/manifests#1797. We know this is not ideal and are working with the upstream kustomize team to add support for the latest versions of kustomize as soon as we can.https://github.com/kubernetes-sigs/kustomize/releases/tag/v3.2.0
kubeflow/manifest 경로로 이동 다운받은 kustomize를
kubeflow/manifest로 옮겨줍니다.
이 때 cli에서 편하게 사용하기 위해서 이름을kustomize로 수정하면 좋습니다.1mv ~/Downloads/kustomize_3.2.0_darwin_amd64 manifests/kustomize실행 권한 주기
옮긴 kustomize에 실행 권한을 줍니다.1 2cd manifests chmod a+x kustomizeCheckout to Version 1.3.0
manifest를 1.3.0 버전으로 맞춰 줍니다.1git checkout v1.3.0
Kubeflow Manifest 설치하기
Kubeflow를 설치하기 위한 Manifest를 설치합니다.
Cert-Manager
1 2 3kustomize build common/cert-manager/cert-manager-kube-system-resources/base | kubectl apply -f - kustomize build common/cert-manager/cert-manager-crds/base | kubectl apply -f - kustomize build common/cert-manager/cert-manager/overlays/self-signed | kubectl apply -f -Istio
1
2
3
kustomize build common/istio-1-9-0/istio-crds/base | kubectl apply -f - kustomize build common/istio-1-9-0/istio-namespace/base | kubectl apply -f - kustomize build common/istio-1-9-0/istio-install/base | kubectl apply -f -Dex
1kustomize build common/dex/overlays/istio | kubectl apply -f -OIDC AuthService authoservice의 경우 spec의 변경이 필요합니다.
- authservice spec 다운 받기
1kustomize build common/oidc-authservice/base > oidc-authservice.yaml - spec 수정
authservice 의 spec을 변경합니다.1 2 3 4 5 6 7 8 9 10 11 12 13 14 15 16 17 18 19 20 21 22 23 24 25 26 27 28 29 30 31 32 33 34 35 36 37 38 39 40 41 42 43 44apiVersion: apps/v1 kind: StatefulSet metadata: name: authservice namespace: istio-system spec: replicas: 1 selector: matchLabels: app: authservice serviceName: authservice template: metadata: annotations: sidecar.istio.io/inject: "false" labels: app: authservice spec: containers: - envFrom: - secretRef: name: oidc-authservice-client - configMapRef: name: oidc-authservice-parameters image: gcr.io/arrikto/kubeflow/oidc-authservice:28c59ef imagePullPolicy: Always name: authservice ports: - containerPort: 8080 name: http-api readinessProbe: httpGet: path: / port: 8081 volumeMounts: - mountPath: /var/lib/authservice name: data securityContext: runAsUser: 0 # 추가 하기 # fsGroup: 111 # 지우기 volumes: - name: data persistentVolumeClaim: claimName: authservice-pvc - 설치
1kubectl apply -f oidc-authservice.yaml
- authservice spec 다운 받기
Knative
1
2
3
kustomize build common/knative/knative-serving-crds/base | kubectl apply -f - kustomize build common/knative/knative-serving-install/base | kubectl apply -f - kustomize build common/istio-1-9-0/cluster-local-gateway/base | kubectl apply -f -Optionally, you can install Knative Eventing which can be used for inference request logging:
1
2
kustomize build common/knative/knative-eventing-crds/base | kubectl apply -f - kustomize build common/knative/knative-eventing-install/base | kubectl apply -f -Kubeflow Namespace
1kustomize build common/kubeflow-namespace/base | kubectl apply -f -Kubeflow Roles
1kustomize build common/kubeflow-roles/base | kubectl apply -f -Kubeflow Istio Resources
1kustomize build common/istio-1-9-0/kubeflow-istio-resources/base | kubectl apply -f -Kubeflow Pipelines using Docker
1kustomize build apps/pipeline/upstream/env/platform-agnostic-multi-user | kubectl apply -f -
Microservice
Kubeflow에서 사용하는 Microservice들을 설치합니다.
KFServing
1kustomize build apps/kfserving/upstream/overlays/kubeflow | kubectl apply -f -Katib
1kustomize build apps/katib/upstream/installs/katib-with-kubeflow | kubectl apply -f -Central Dashboard
1kustomize build apps/centraldashboard/upstream/overlays/istio | kubectl apply -f -Admission Webhook
1kustomize build apps/admission-webhook/upstream/overlays/cert-manager | kubectl apply -f -Notebooks
1
2
kustomize build apps/jupyter/notebook-controller/upstream/overlays/kubeflow | kubectl apply -f - kustomize build apps/jupyter/jupyter-web-app/upstream/overlays/istio | kubectl apply -f -Profiles + KFAM
1kustomize build apps/profiles/upstream/overlays/kubeflow | kubectl apply -f -Volumes Web App
1kustomize build apps/volumes-web-app/upstream/overlays/istio | kubectl apply -f -Tensorboard
1
2
kustomize build apps/tensorboard/tensorboards-web-app/upstream/overlays/istio | kubectl apply -f - kustomize build apps/tensorboard/tensorboard-controller/upstream/overlays/kubeflow | kubectl apply -f -User Namespace
1kustomize build common/user-namespace/base | kubectl apply -f -
설치 확인하기
다음 명령어를 통해 모든 pod들이 정상적으로 생성되고 있는지 확인합니다.
| |
Port-forwarding
port-forwarding을 통해 kubeflow 에 접속합니다.
| |
- http://localhost:8080 로 접속합니다.
- 기본 ID/PW는 다음과 같습니다.
- ID: user@example.com
- PW: 12341234
포트 포워딩후 연결이 되지 않을 경우 포스트를 참고해보시기 바랍니다.
Reverse-proxy
다음 글에서 설정한 reverse-proxy 도커를 이용해 접속할 수 있습니다.
우선 ingress-gateway의 연결된 포트를 확인합니다.
| |
다음과 같이 포트들이 포워딩된 것을 확인할 수 있습니다.
| |
이중 80번 포트의 포워딩 포트를 확인합니다. 저는 32455 였습니다.
만약 다를 경우 다음 글 에서 kubeflow.conf의 값을 수정하면 됩니다.
local에 host를 추가해줍니다.
| |
http://kubeflow.k3s.cluster.local/ 에 접속합니다.
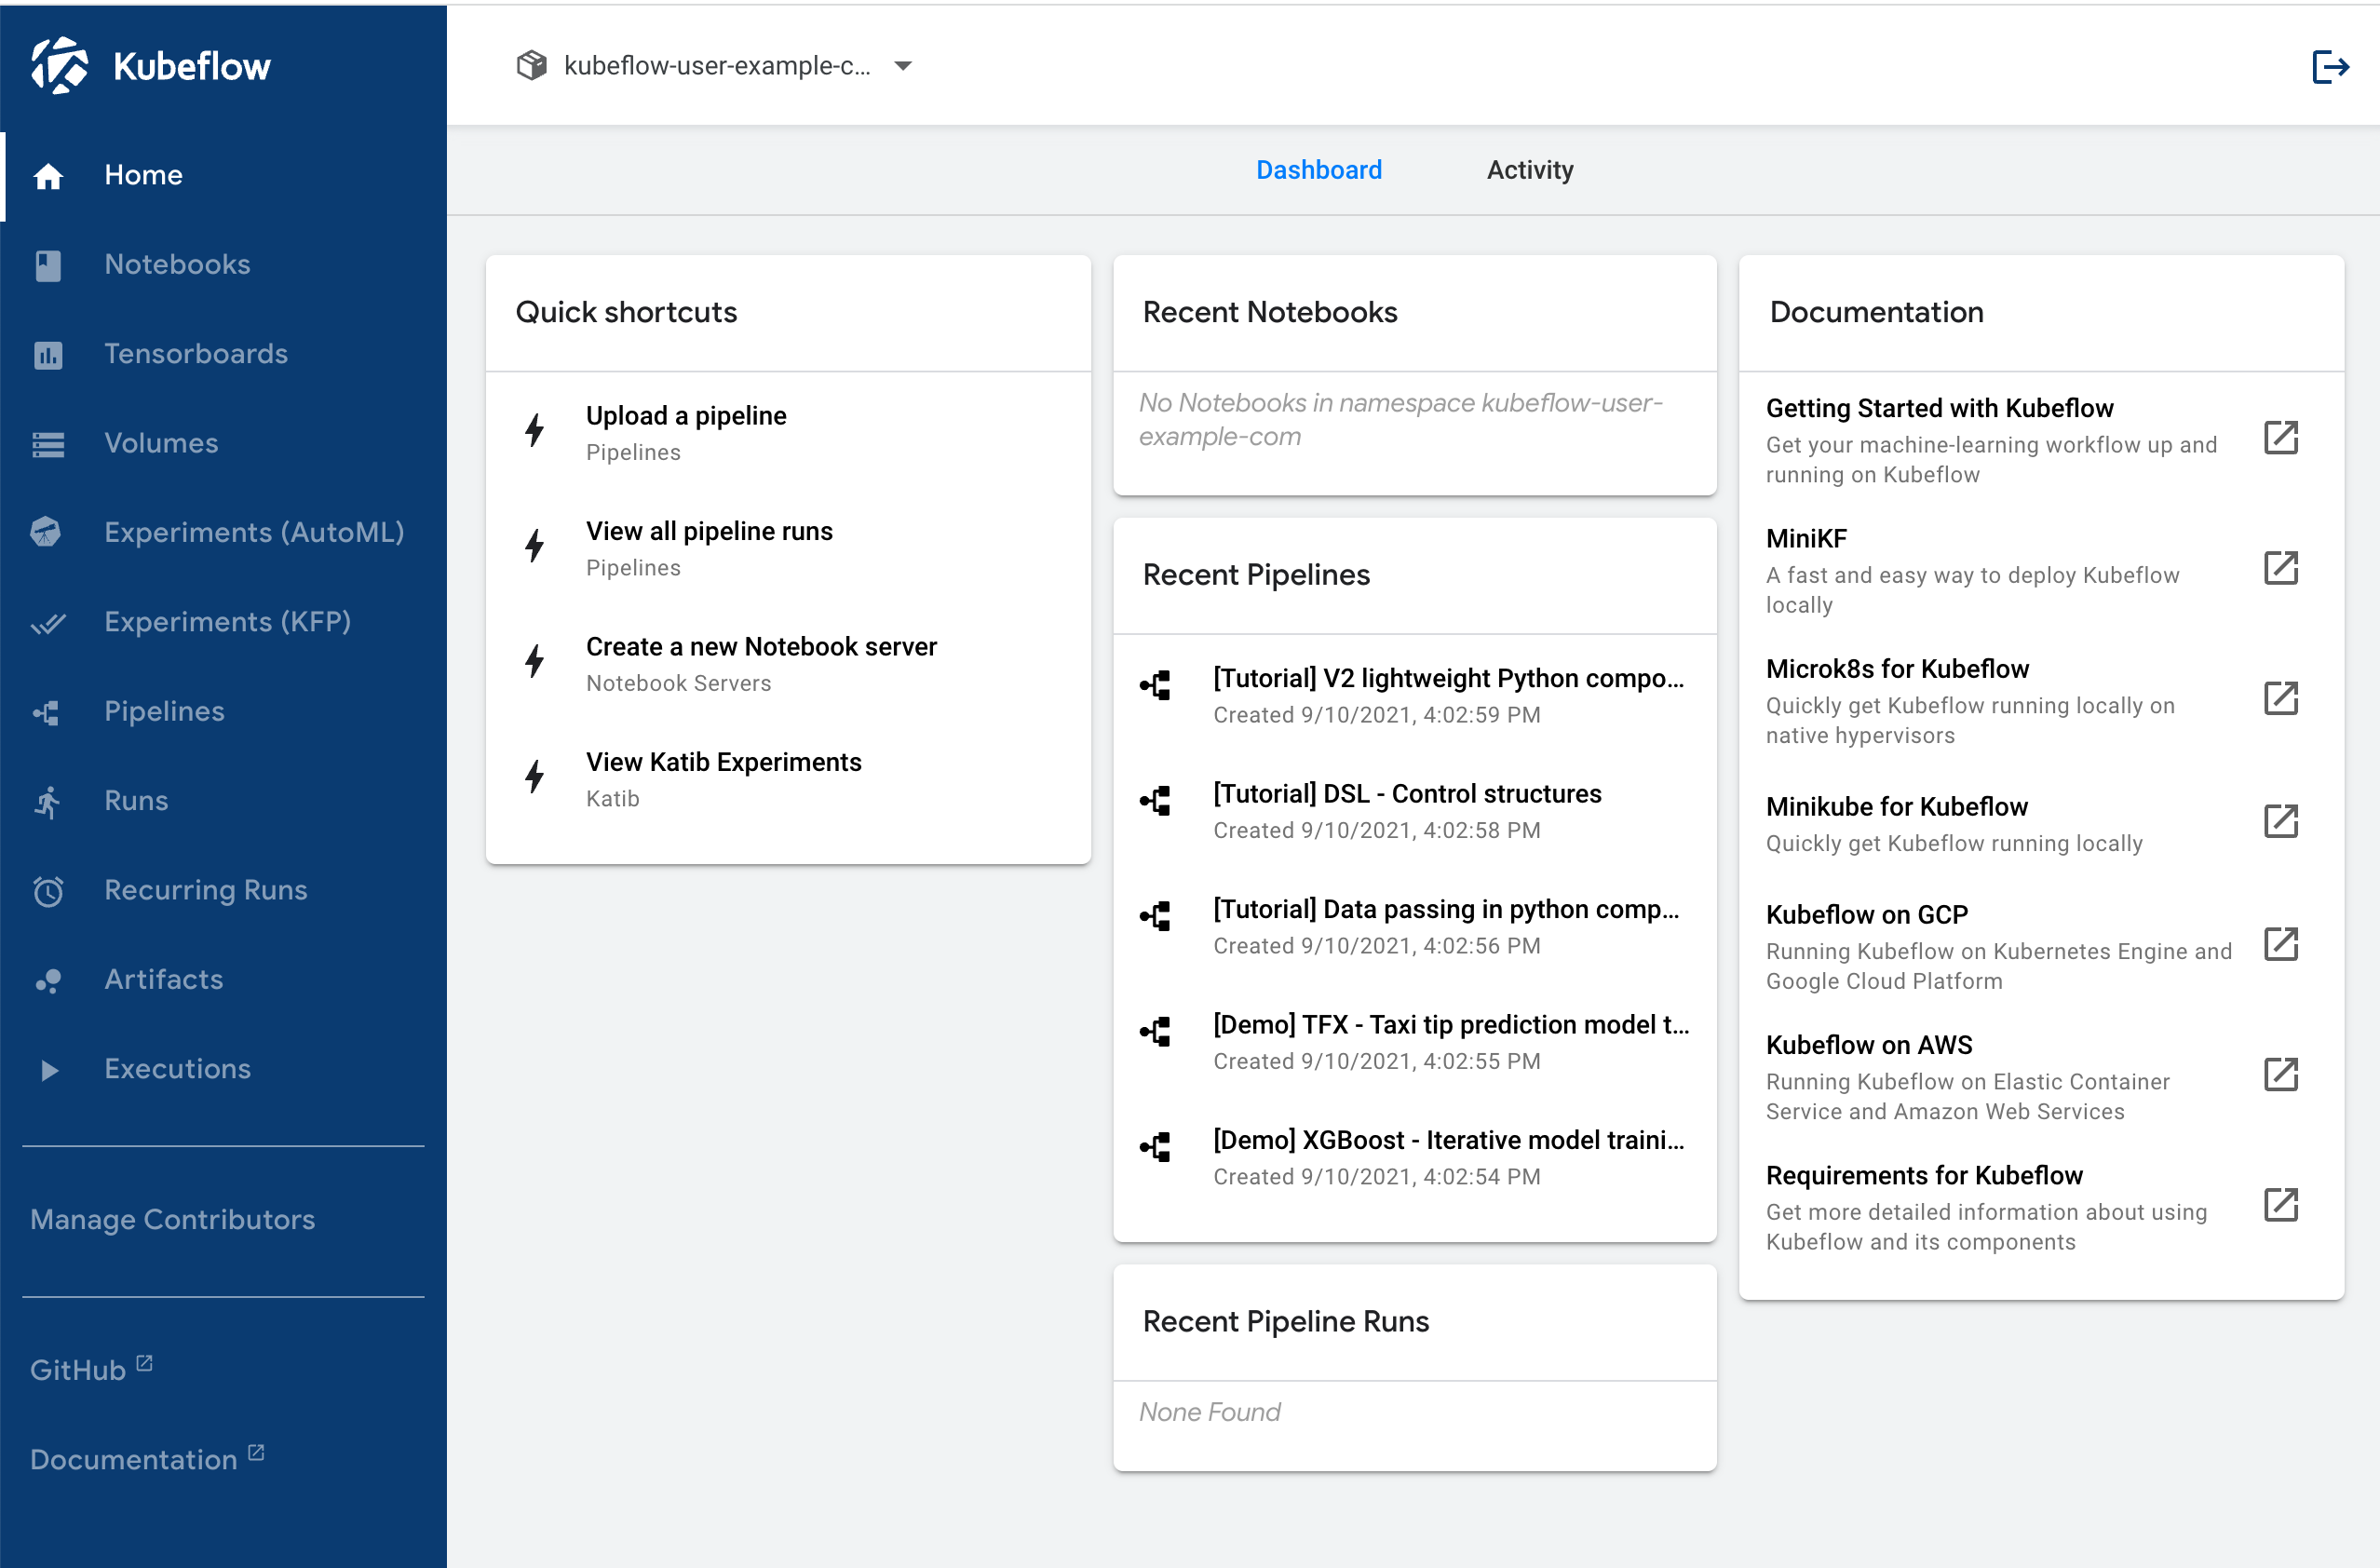
마무리
설치가 정상적으로 되었다면 다음과 같은 화면이 출력됩니다.