On Orcale Cloud
이제 네트워크에 ingress 를 추가해주어야 합니다.
- Instance 메뉴를 선택합니다.
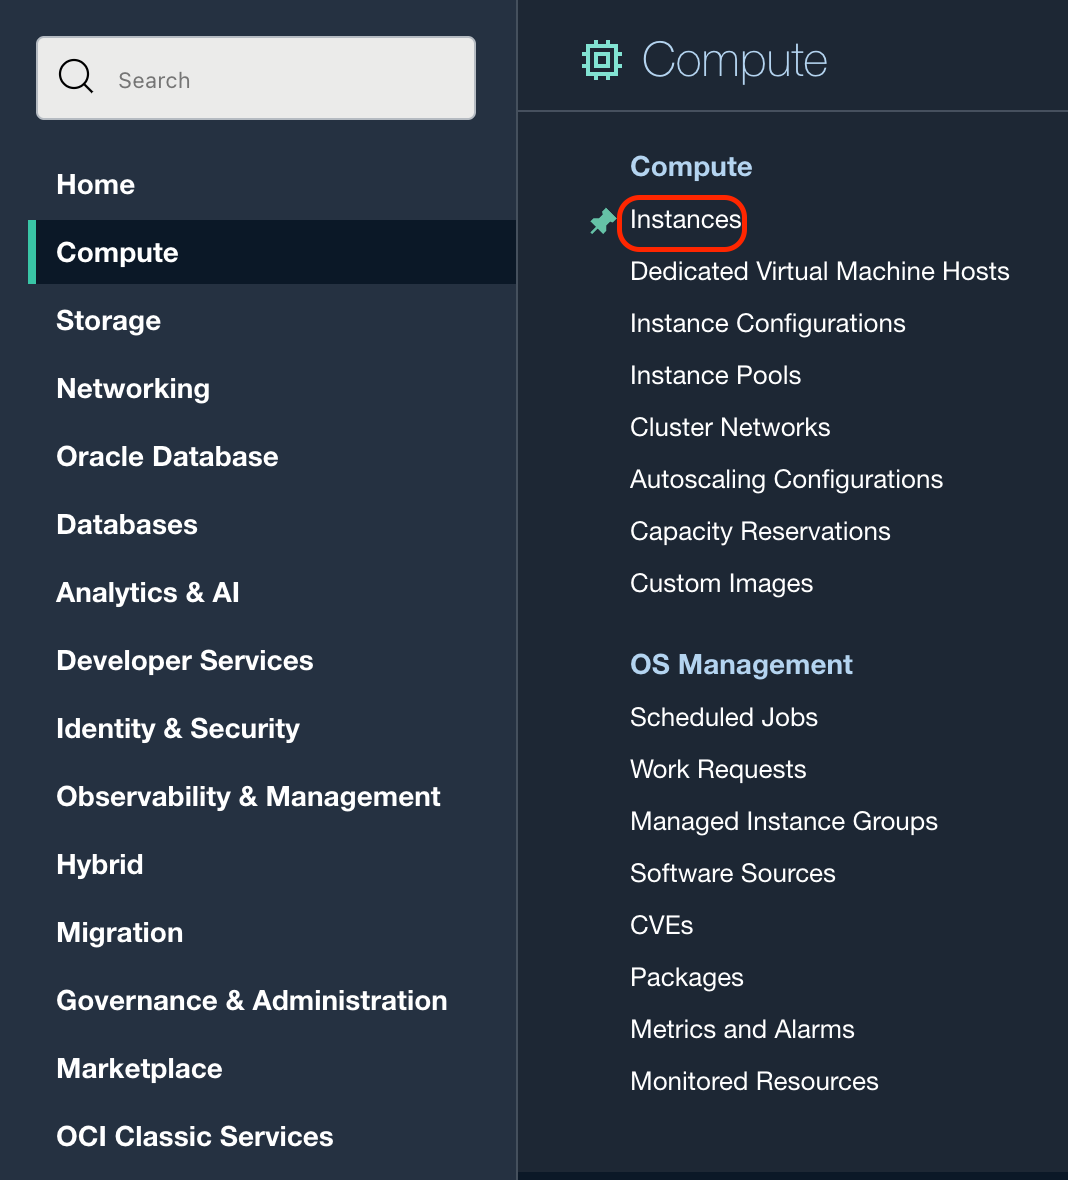
- Instance를 선택합니다.
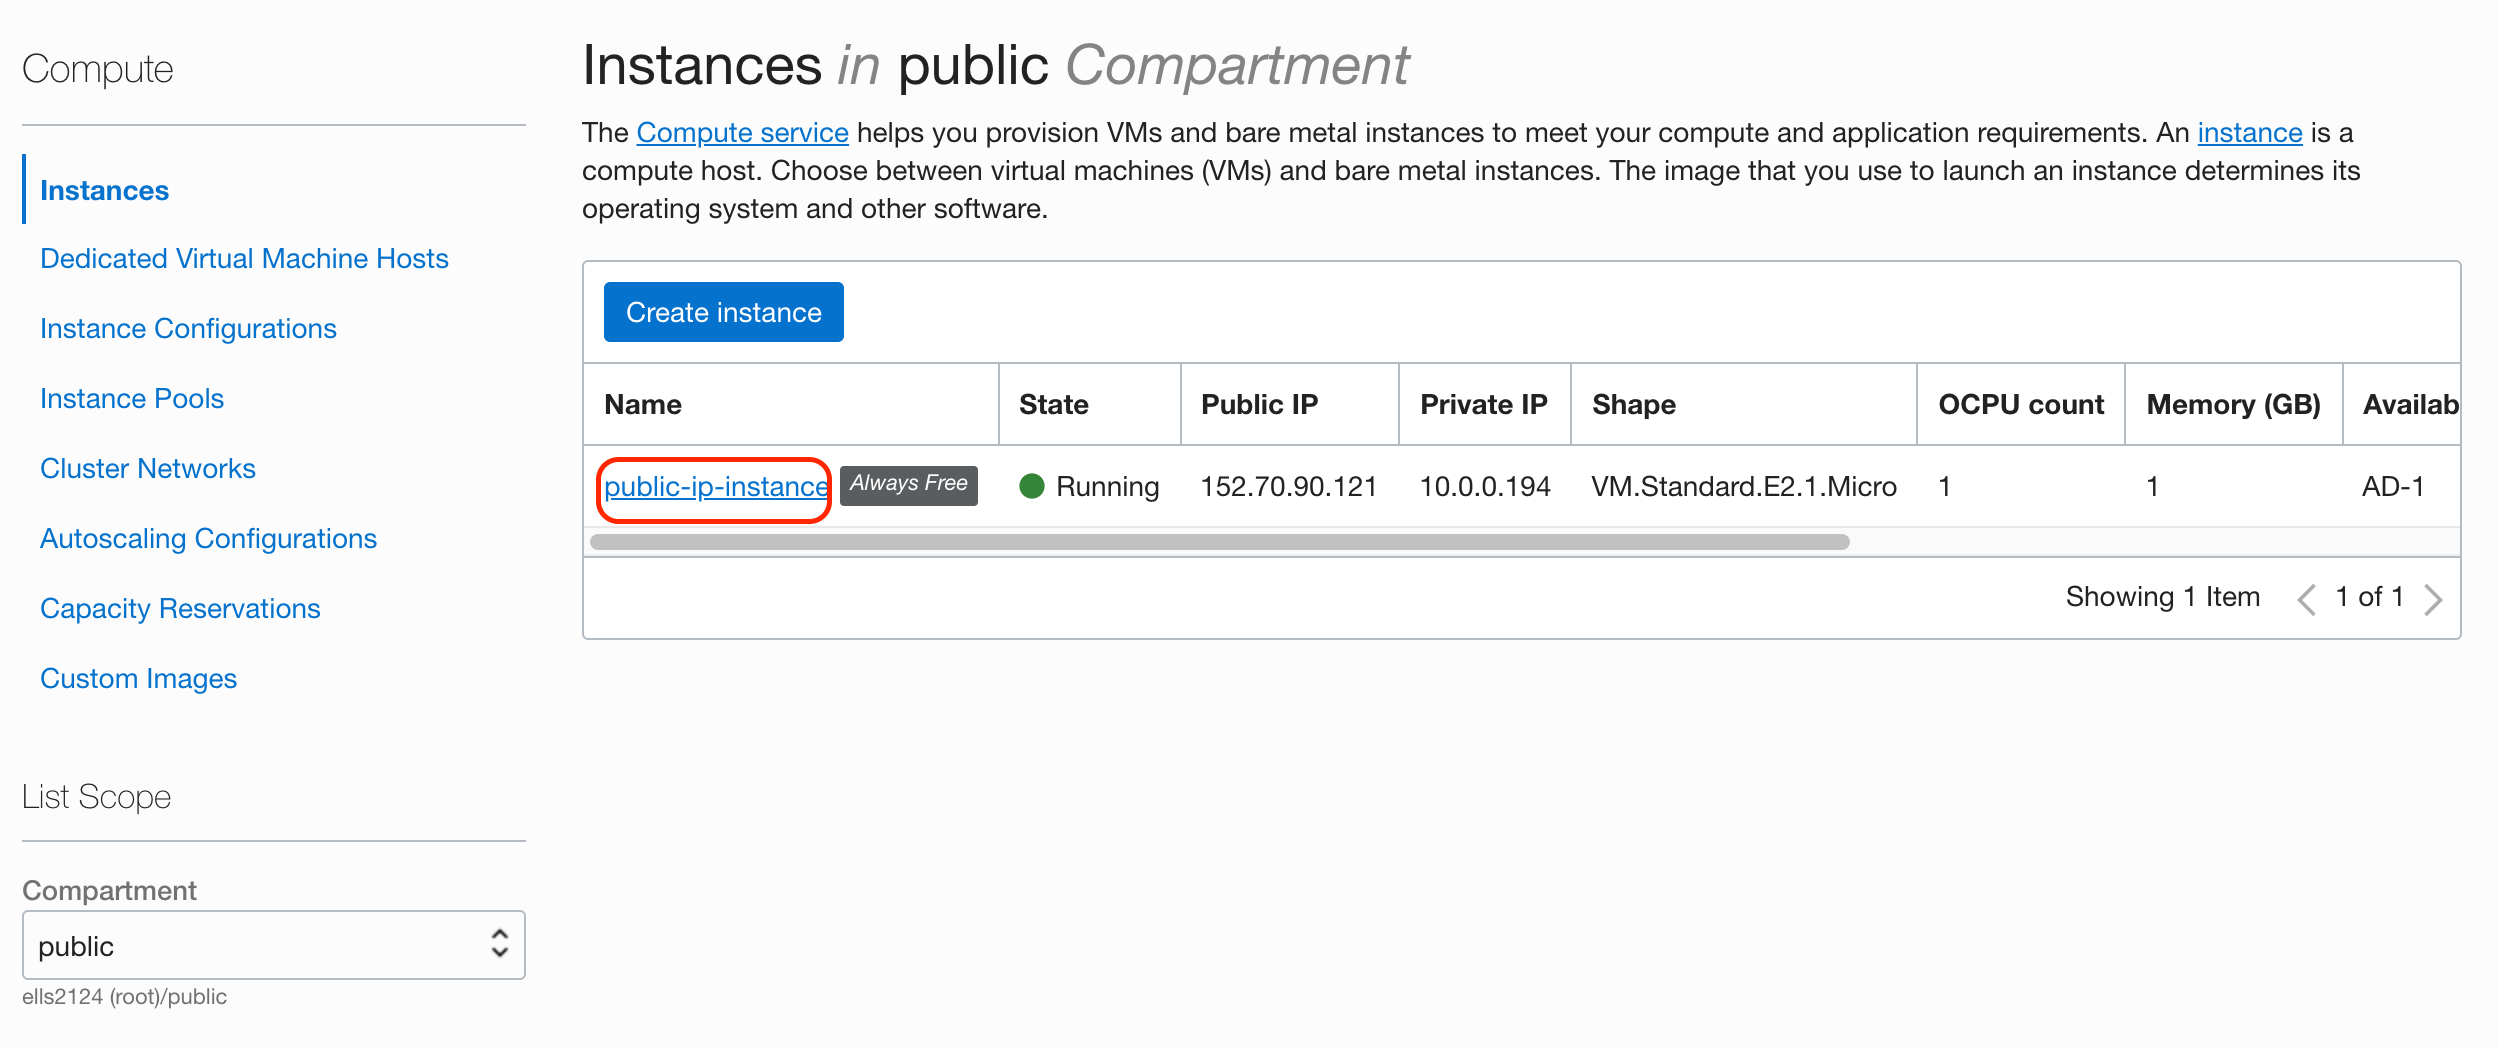
- Subnet을 선택합니다.
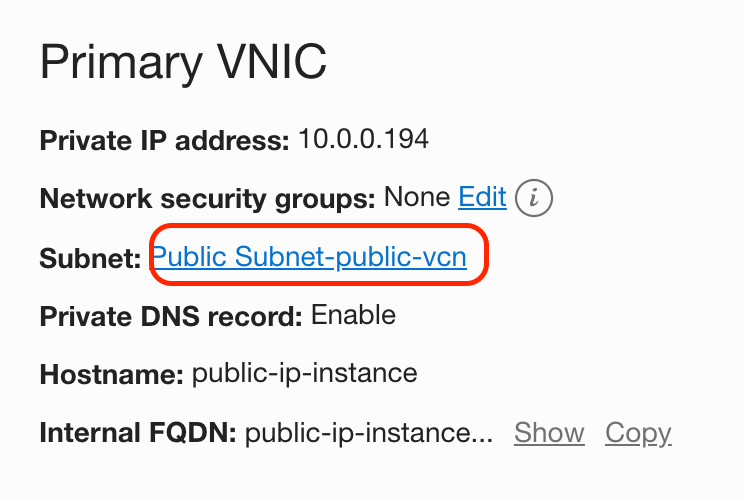
- Security를 선택합니다.
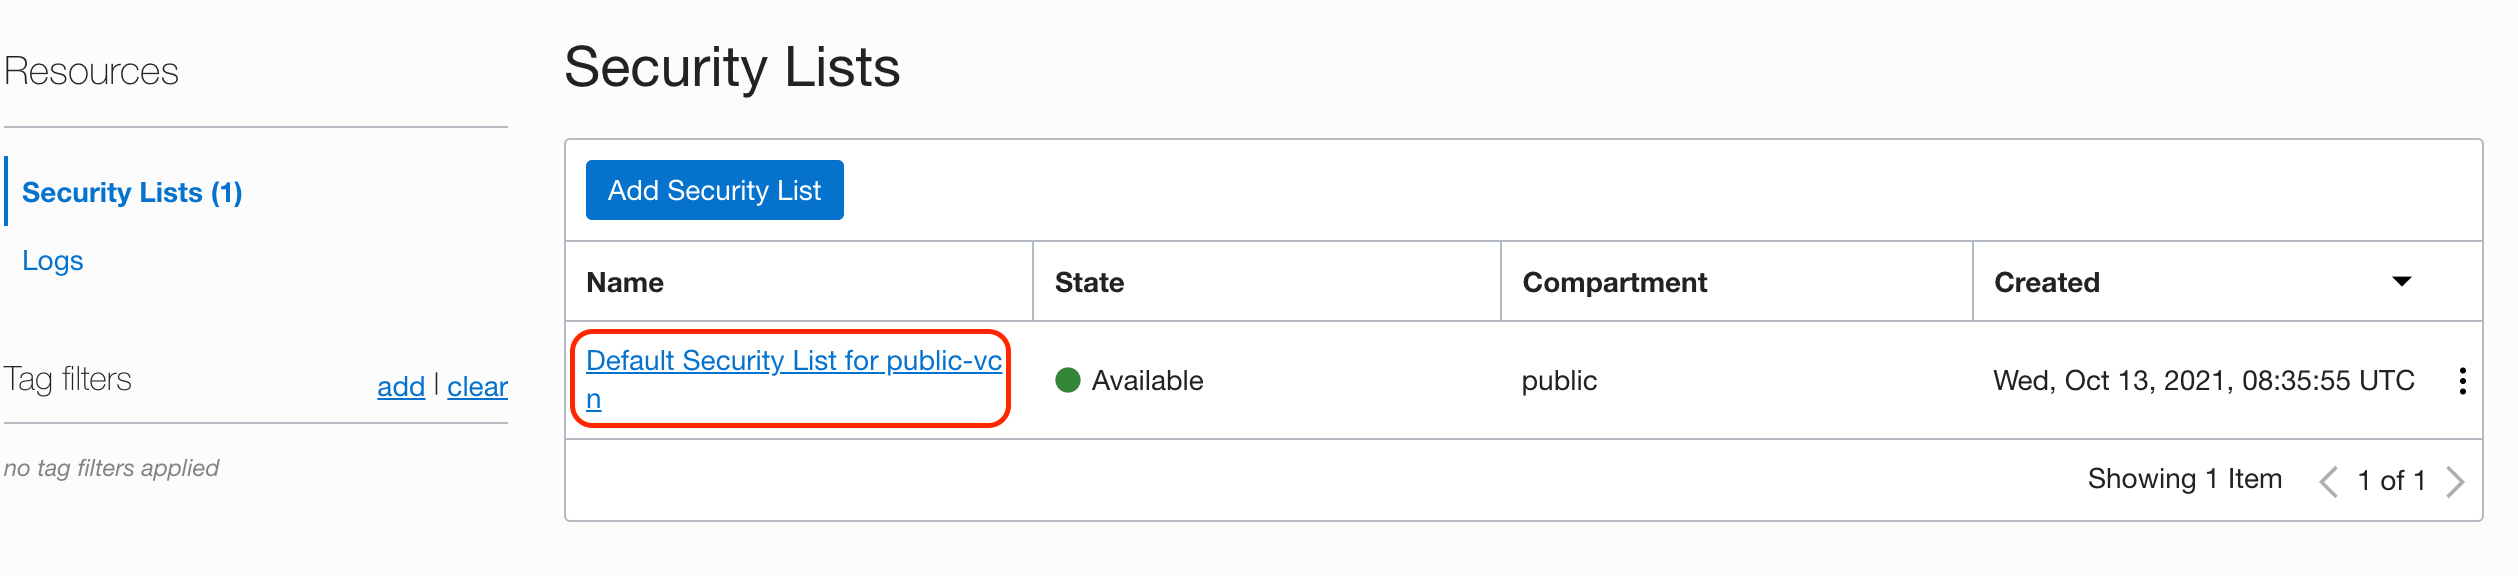
- Add Ingress Rules를 눌러 WireGuard를 위한 포트를 추가하겠습니다.
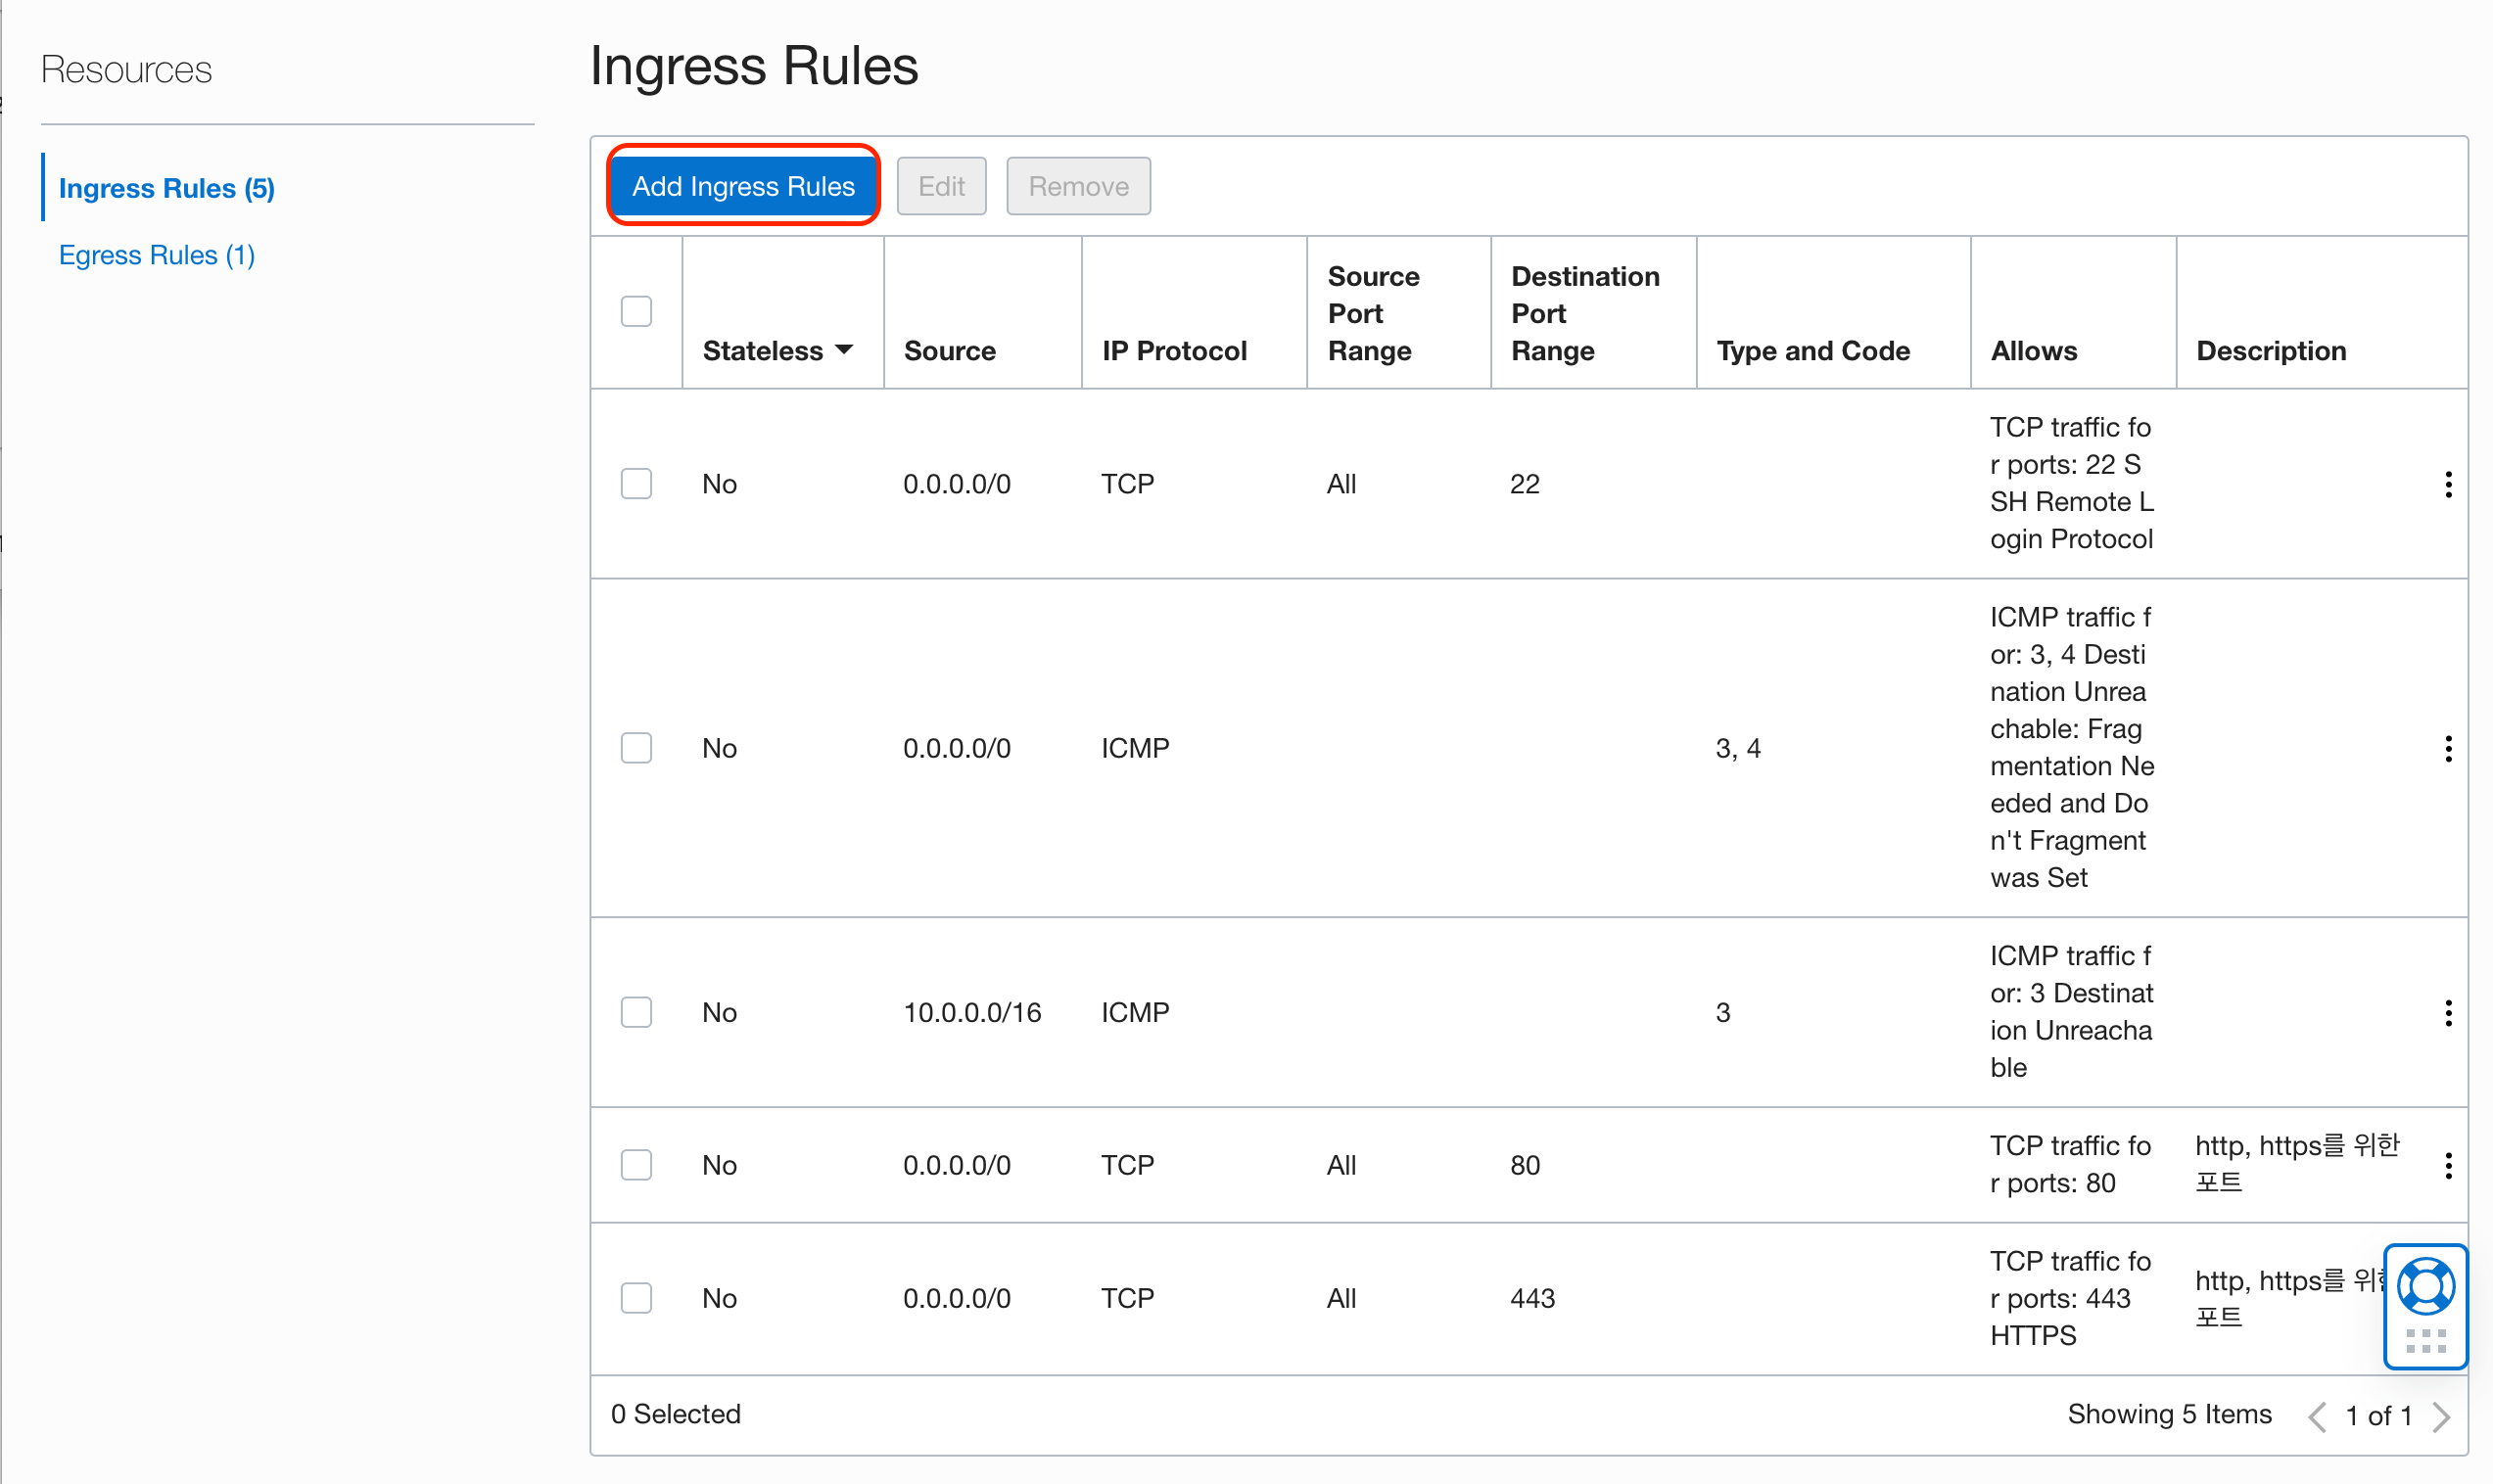
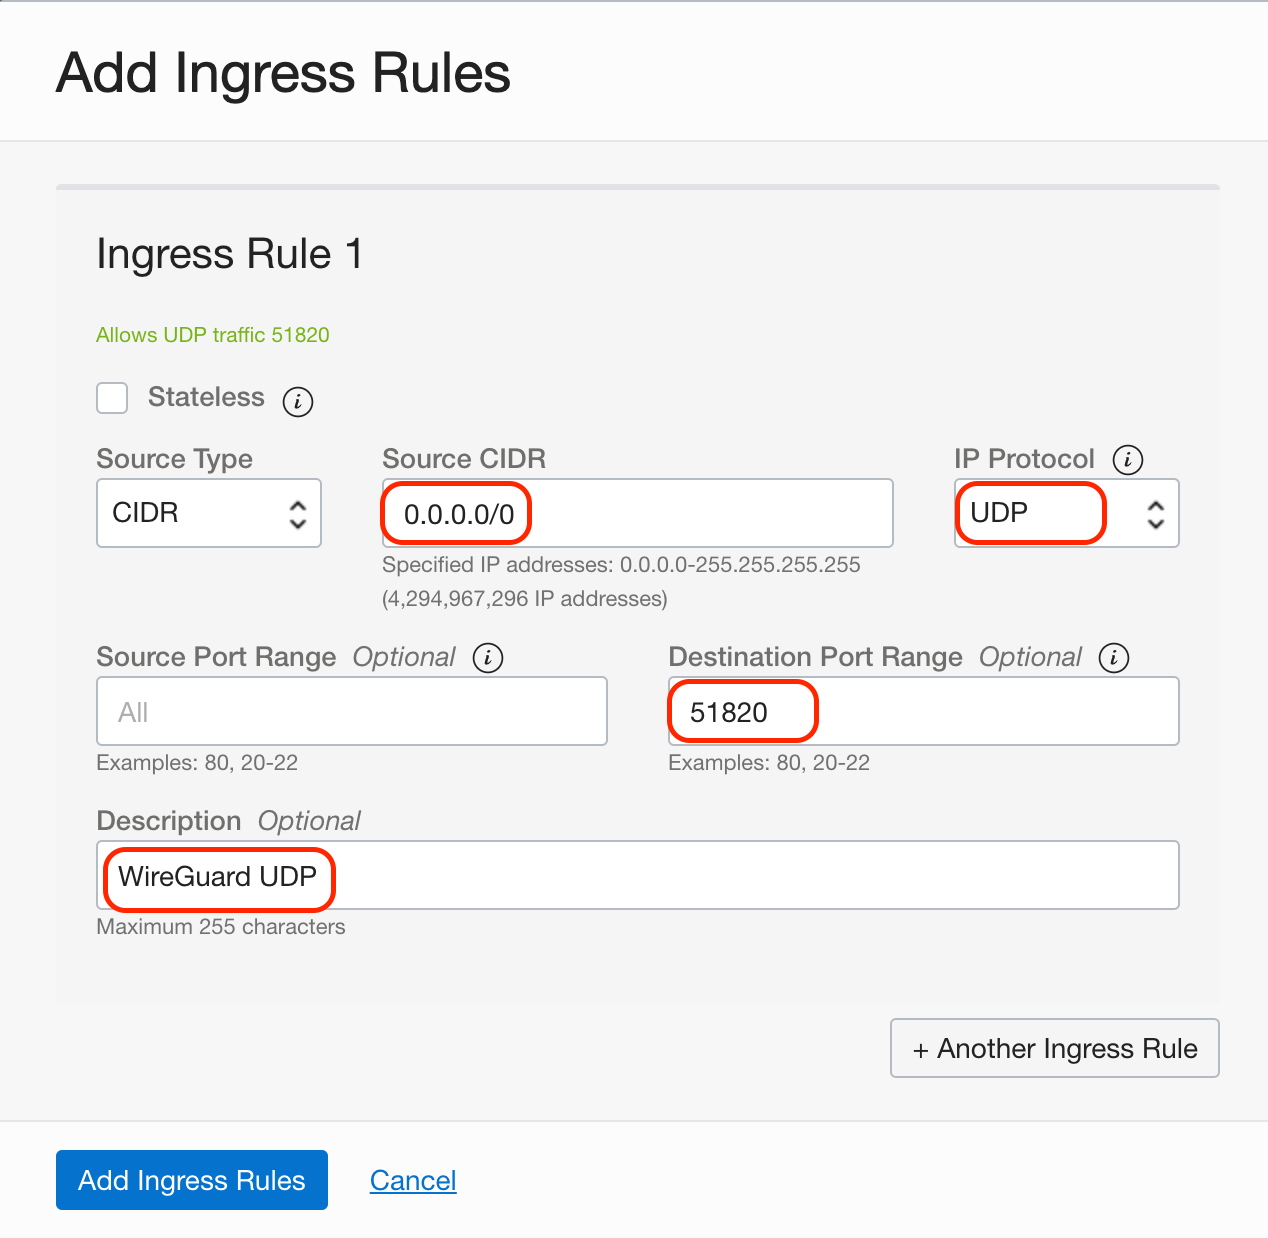
- 다음 빨간 칸의 내용들을 입력한 후 추가합니다.
Prxoy-Manager
- Proxy Hosts를 추가합니다.

On Ubuntu Server
Wireguard와 이를 쉽게 사용할 수 있는 Subspace를 실행합니다.
- 우선 아래 과정을 통해 Wireguard를 설치합니다.
 1
 2
 3
 4
 5
 6
 7
 8
 9
10
11
12
13
14
15
16
17
18
19
20
21
22
23
24
25
26
27
28
29
30
31
32
33
sudo su apt-get update apt-get install -y wireguard # Remove dnsmasq because it will run inside the container. apt-get remove -y dnsmasq # Disable systemd-resolved listener if it blocks port 53. echo "DNSStubListener=no" >> /etc/systemd/resolved.conf systemctl restart systemd-resolved # Set Cloudfare DNS server. echo nameserver 1.1.1.1 > /etc/resolv.conf echo nameserver 1.0.0.1 >> /etc/resolv.conf # Load modules. modprobe wireguard modprobe iptable_nat modprobe ip6table_nat # Enable modules when rebooting. echo "wireguard" > /etc/modules-load.d/wireguard.conf echo "iptable_nat" > /etc/modules-load.d/iptable_nat.conf echo "ip6table_nat" > /etc/modules-load.d/ip6table_nat.conf # Check if systemd-modules-load service is active. systemctl status systemd-modules-load.service # Enable IP forwarding. sysctl -w net.ipv4.ip_forward=1 sysctl -w net.ipv6.conf.all.forwarding=1 exit - docker-compose를 위한 폴더를 생성합니다.
1mkdir subspace; cd subspace - 다음과 같은 docker-compose 파일을 작성합니다.
 1
 2
 3
 4
 5
 6
 7
 8
 9
10
11
12
13
14
15
16
17
18
19
20
21
22
23
24
25
26
cat > docker-compose.yml << EOF version: "3.3" services: subspace: image: subspacecommunity/subspace:latest container_name: subspace volumes: - /opt/docker/subspace:/data restart: always environment: - SUBSPACE_HTTP_HOST=vpn.example.duckdns.org # 설정한 proxy-host의 이름과 동일해야 합니다. - SUBSPACE_LETSENCRYPT=false - SUBSPACE_HTTP_INSECURE=true - SUBSPACE_HTTP_ADDR=":5000" - SUBSPACE_NAMESERVERS=1.1.1.1,8.8.8.8 - SUBSPACE_LISTENPORT=51820 - SUBSPACE_IPV4_POOL=10.99.97.0/24 - SUBSPACE_IPV6_POOL=fd00::10:97:0/64 - SUBSPACE_IPV4_GW=10.99.97.1 - SUBSPACE_IPV6_GW=fd00::10:97:1 - SUBSPACE_IPV6_NAT_ENABLED=1 - SUBSPACE_DNSMASQ_DISABLED=1 cap_add: - NET_ADMIN network_mode: "host" EOF - docker-compose를 실행합니다
1docker-compose up -d
VPN Configure 추가
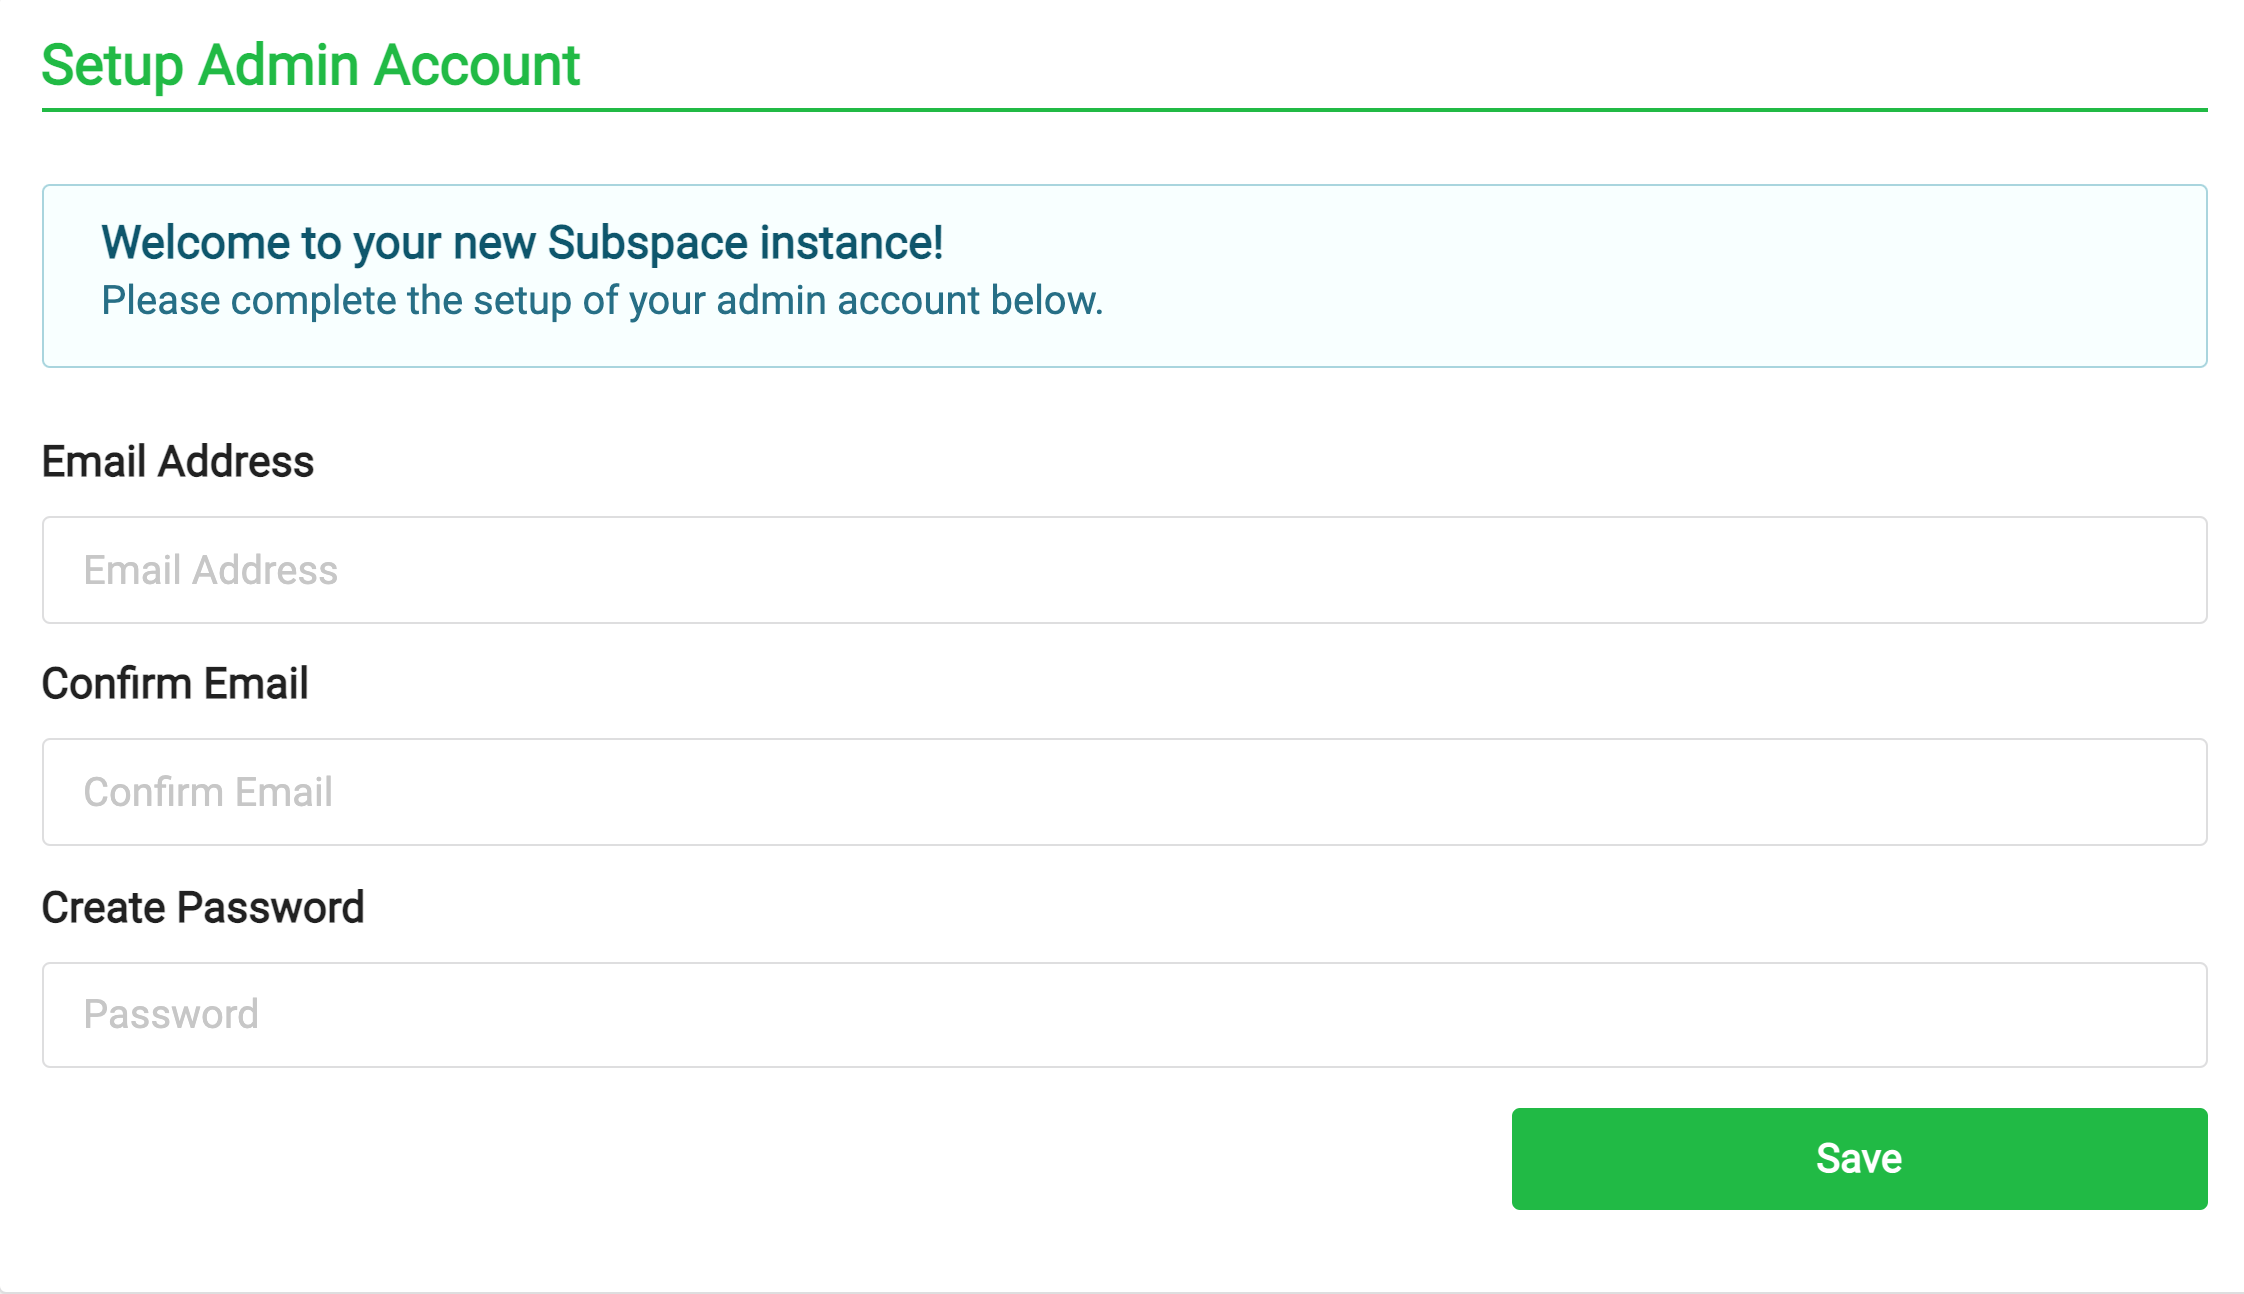
- 설정한 vpn domain으로 접속후 계정을 생성합니다.
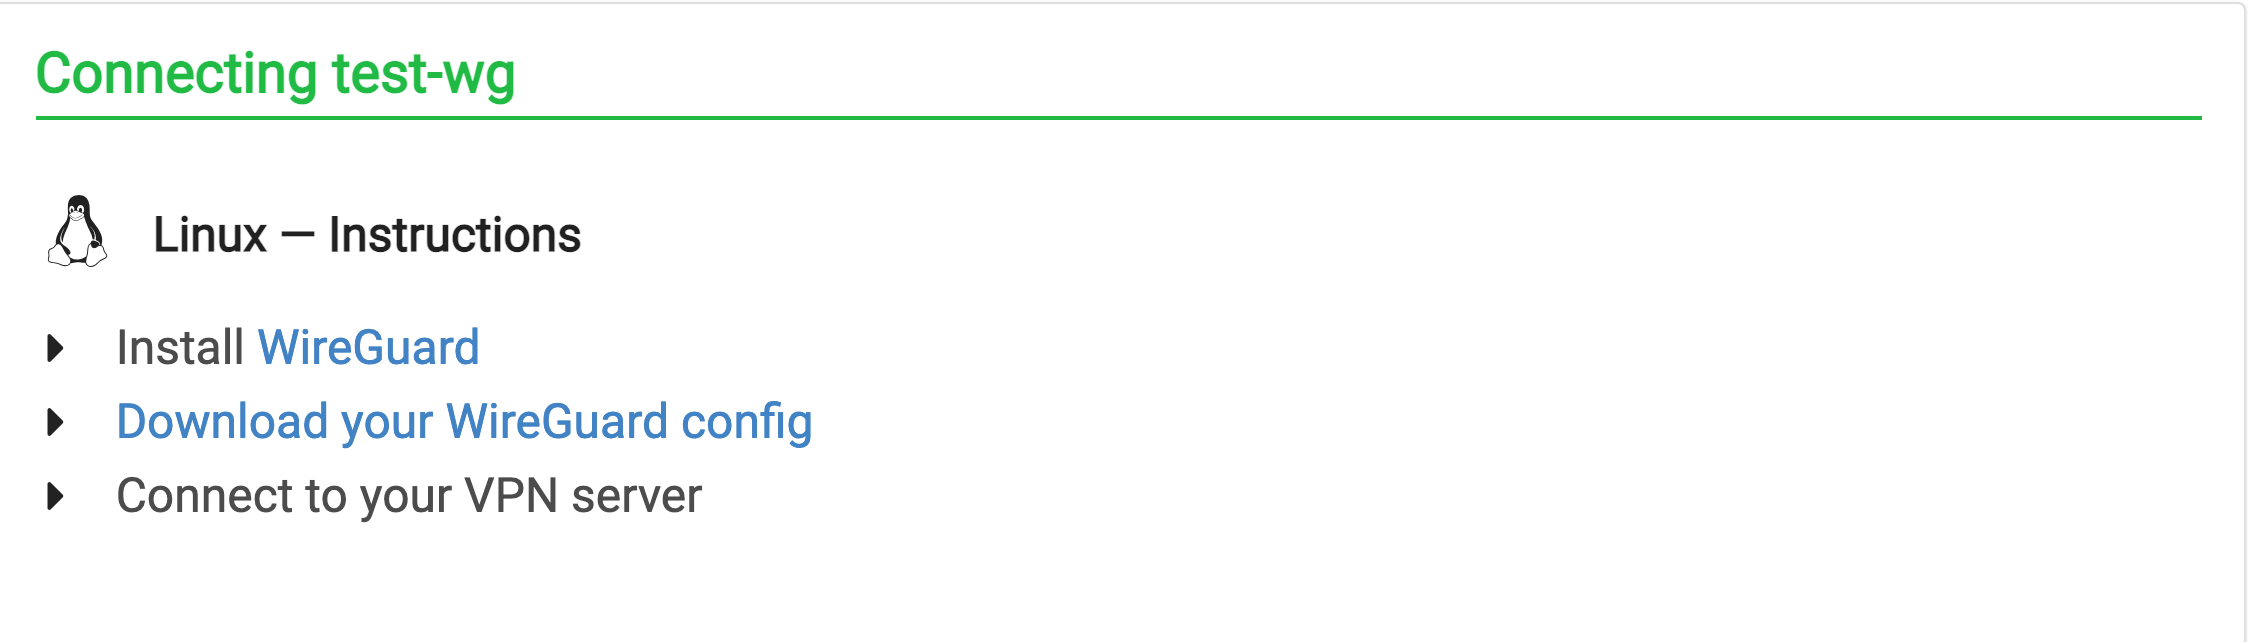
- configure를 발급받습니다.

- config 파일을 다운로드 받습니다.
 config 파일의 내용은 다음과 같습니다.이 때 AllowedIPs를 VPN IP의 0번으로 수정합니다. 제 경우 10.99.97.x 이기 때문에 10.99.97.0/24를 입력합니다. 수정된 파일은 다음과 같습니다.
1 2 3 4 5 6 7 8 9 10[Interface] PrivateKey = ~~~ DNS = 10.99.97.1, fd00::10:97:1 Address = 10.99.97.2/24,fd00::10:97:2/64 [Peer] PublicKey = ~~~ Endpoint = vpn.aiden-jeon.duckdns.org:51820 AllowedIPs = 0.0.0.01 2 3 4 5 6 7 8 9 10[Interface] PrivateKey = ~~~ DNS = 10.99.97.1, fd00::10:97:1 Address = 10.99.97.2/24,fd00::10:97:2/64 [Peer] PublicKey = ~~~ Endpoint = vpn.aiden-jeon.duckdns.org:51820 AllowedIPs = 10.99.97.0/24 - vpn에 추가할 서버에 접속후 wireguard를 설치합니다.
1sudo apt-get install -y resolvconf wireguard - 발급 받은 config 파일을 다음 위치에 적어줍니다.
1sudo cp wg0.conf /etc/wireguard/wg0.conf - systemctl을 설정합니다.
1
2
3
sudo systemctl enable wg-quick@wg0 sudo systemctl start wg-quick@wg0 sudo systemctl status wg-quick@wg0 - 인터페이스를 확인하고 서버로 ping을 날려봅니다.
1
2
ifconfig w0 ping 10.99.97.1